I hope that you all had a great week end. We did here. I feel as though I have accomplished alot. For starters this part of the candy cane tutorial. We are almost done. Yeah!! So, for today you will all need:
newspaper-cut into strips that are small enough for your candy canes
1 1/2 c water
1 c flour
1/4 c Elmer's glue
something to cover your work area
tote lid or something to place canes on so they wont stick
*Make sure to take off your jewelry, this gets a little sticky and messy but, it makes you feel like a kid again. LOL!
Okay, to start you just mix your water, flour and glue in a bowl that is big enough to dip your strips of newspaper in. Like this:


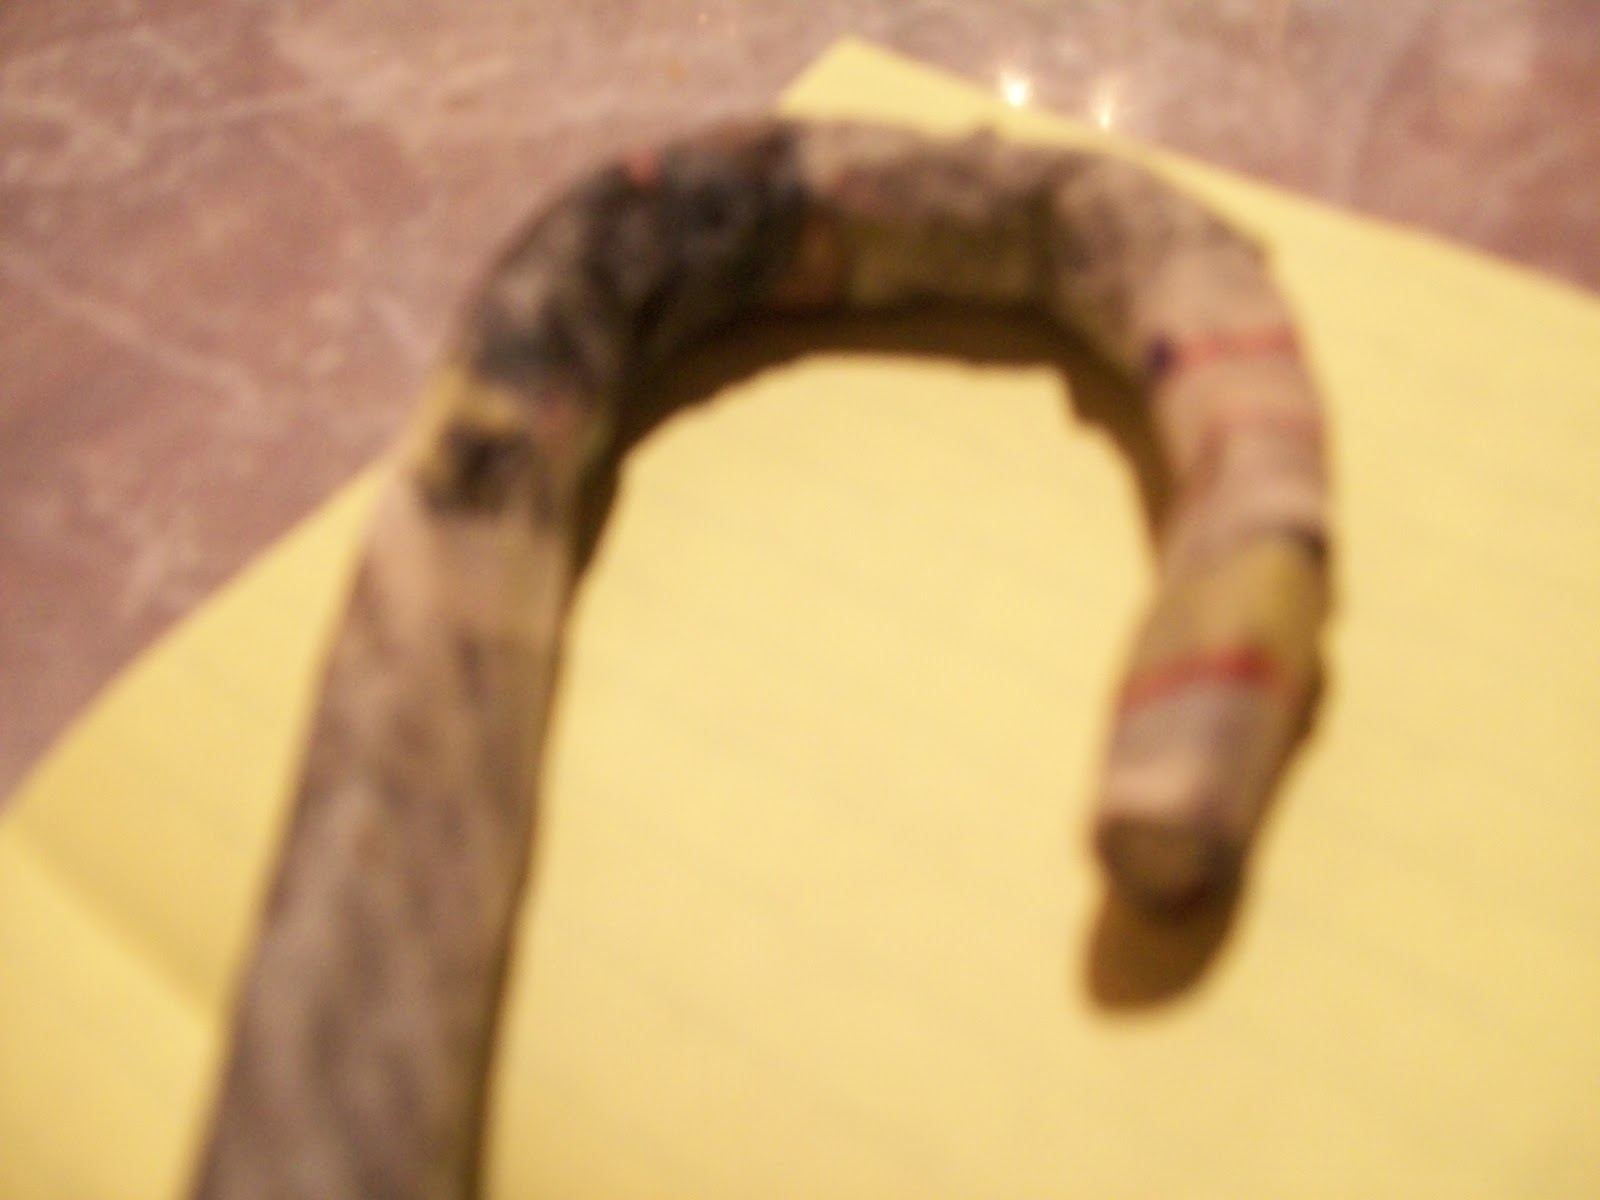
Anyway, the first thing you do is take a paper strip and dunk it into the glue mix. As you pull it out, take your fingers and slide the excess glue off. I basically slid the paper up through my thumb and finger. That seemed to work well for me. Then you start to wrap it around your candy cane. I usually start at the bottom and try to wrap around the end first. Then I try to twist a little and start to wrap on a diagonal up toward the top. Your newspaper might rip and that's okay, just start from where it ripped and continue on. I will tell you that the bend in the candy cane is kind of a ....pain! Just work through it. It is definitely worth it. It doesn't have to be perfect either because once these little beauties dry, we will be sanding them down and taking care of the imperfections that we can't live with..... keep in mind though that some of those imperfections are what gives each candy cane its character. I have a lot of canes with flat spots on them and bumps and each one is so different from the next. You just gotta love em!! So, this is what it looked like after I had put one layer of newspaper on:


I need to get running now. I hope this explains part 2 clear enough for you all. If you have any questions please feel free to post them and I will respond as soon as I receive it. I hope that you continue with a great day and I will be back on tomorrow with some recipes!!!!!
Warm and primitive blessings to you all!
prim_bug
No comments:
Post a Comment